The Thickest Thin...Eyeliner

Why I Don’t Do Thick Permanent Eyeliner
I get this question a lot—“Can you do a thicker liner?” My answer to my client is: I specialize in precision, longevity, and results that age beautifully.
🔹 Thicker liners don’t heal the way you think. Over time, ink can spread and blur, especially on the delicate eyelid skin.
🔹 Crisp, fine lines last longer. My technique ensures the pigment stays where it should, giving you a timeless, elegant look.
🔹 My thickest is still “thin” for a reason. I create defined, balanced eyeliner that enhances your eyes—without overpowering them.
If you are a PMU artist reading this, you might wonder "what needles" to use for the eyeliner or eyelash enhancement.
My personal rule of thumb is based on the size of the liner and the effect (defined or soft) Since I do smaller types of liners by largest needle would be a 5RS. I usually switch to a smaller needle for the inner eye where the line tapers. Here I would usually use a 1RL, 3RL or sometimes a 3RS. Swit...
The Brushed Brow Technique

The Brushed Brow Technique:
The brushed brow technique is a style of permanent makeup, offering a soft, dimensional finish that mimics the effect of makeup applied with a brush. This technique is perfect for clients with mature skin, as it creates a natural, shaded look that blends beautifully with their unique skin texture. Let’s dive into the details of this approach, who it’s for, and how you can achieve stunning results.
Who is the Brushed Brow Technique For?
This technique is ideal for clients with:
-
Mature skin: Wrinkles, prominent pores, or uneven texture can make crisp hair strokes from a Nano or hair stroke technique heal poorly. The brushed brow offers a softer, more forgiving alternative.
-
Skin with oddities or prominent texture: The diffused, pixelated effect of the brushed brow adapts better to these conditions, delivering a smoother, more natural result.
-
Clients seeking a soft makeup look: This style is perfect for anyone who loves the appearance of s...
Mastering the Art of Shading Needles in Permanent Makeup: Elevating Your Cra

As a permanent makeup (PMU) artist, the choice of needles is essential for delivering flawless, long-lasting results. Shading needles, in particular, play a crucial role in creating depth, subtle gradients, and a natural appearance. Whether you’re a seasoned professional or a newcomer in the PMU world, understanding the ins and outs of shading needles can significantly enhance your artistry and client satisfaction. Let’s delve into why shading needles are vital and how to master their use in your craft.
1. Understanding Shading Needles and Their Types
Shading needles are designed to implant pigment in a way that mimics natural gradients and soft edges. Although outlining needles create defined borders they can be used for shading with proper hadn't and machine speed. Typical shading needles are meant for smooth transitions and depth. Here are the common types used in PMU:
-Round Shaders (RS): These needles are grouped in a circular pattern and can be used for small areas that req...
How many tattoo needles should I use?

Given that permanent makeup is a detailed procedure and we are tattooing various skin types, it makes sense to be prepared with a variety needle options, even for one procedure. When it comes to choosing needles my client's skin and desired results are number one factors that I consider prior to selecting needles. Per procedure, I usually have 3 needles ready to choose from.
With 20 years experience behind the needle, I can use a variety of needles however, there is usually a choice that works better for the skin and procedure details at hand.
As an example, I love curved magnums for brows, eyes and lips. Many artists use this needle for eyeliner, however, I don't find this the best option. When navigating the 2 rows of needles with magnums, you can easily loose precision that the liner requires. I would prefer a liner or shader needle for more precision. However, if you prefer using magnums on the eyes you could use them above the line and softly feather in a dusting of color a...
Areola Tattooing with Pointillism
After the 1st pass…
(Post mastectomy and reconstruction due to breast cancer)
In the video I’ve finished my first pass. Im layering in texture and details with a pure ink (no dilution).
This can be done after my first pass and/or reinforced at the end of the procedure.
You will mainly see 2 techniques with a 3RL that add:
✔️Details
✔️Texture
✔️Shadow
✔️Highlights
⚪️Pointillism- a controlled in and out movement that adds specific color and works well over scar areas with light-medium pressure depending on the thickness of the skin and scar.
⚪️⚪️⚪️Stippling- a looser more surface movement that “speckles” in color with no specific pattern. This works well for texture and I often cross dip colors (no rinsing) as the desired result is mottled.
See the next post for a continuation using a curved magnum needle.
If you’re new to areola tattooing, I do suggest incorporating multiple needles.
For my style of breast work, I usually have 2-4 needles to give a realistic areola and 3D dimension.
To your PMU...
Curved Magnums are a Favorite for Breast Tattooing
Curved Magnums are one of my favorite needles to incorporate for breast tattooing. The magnum puts in color efficiently and softly.
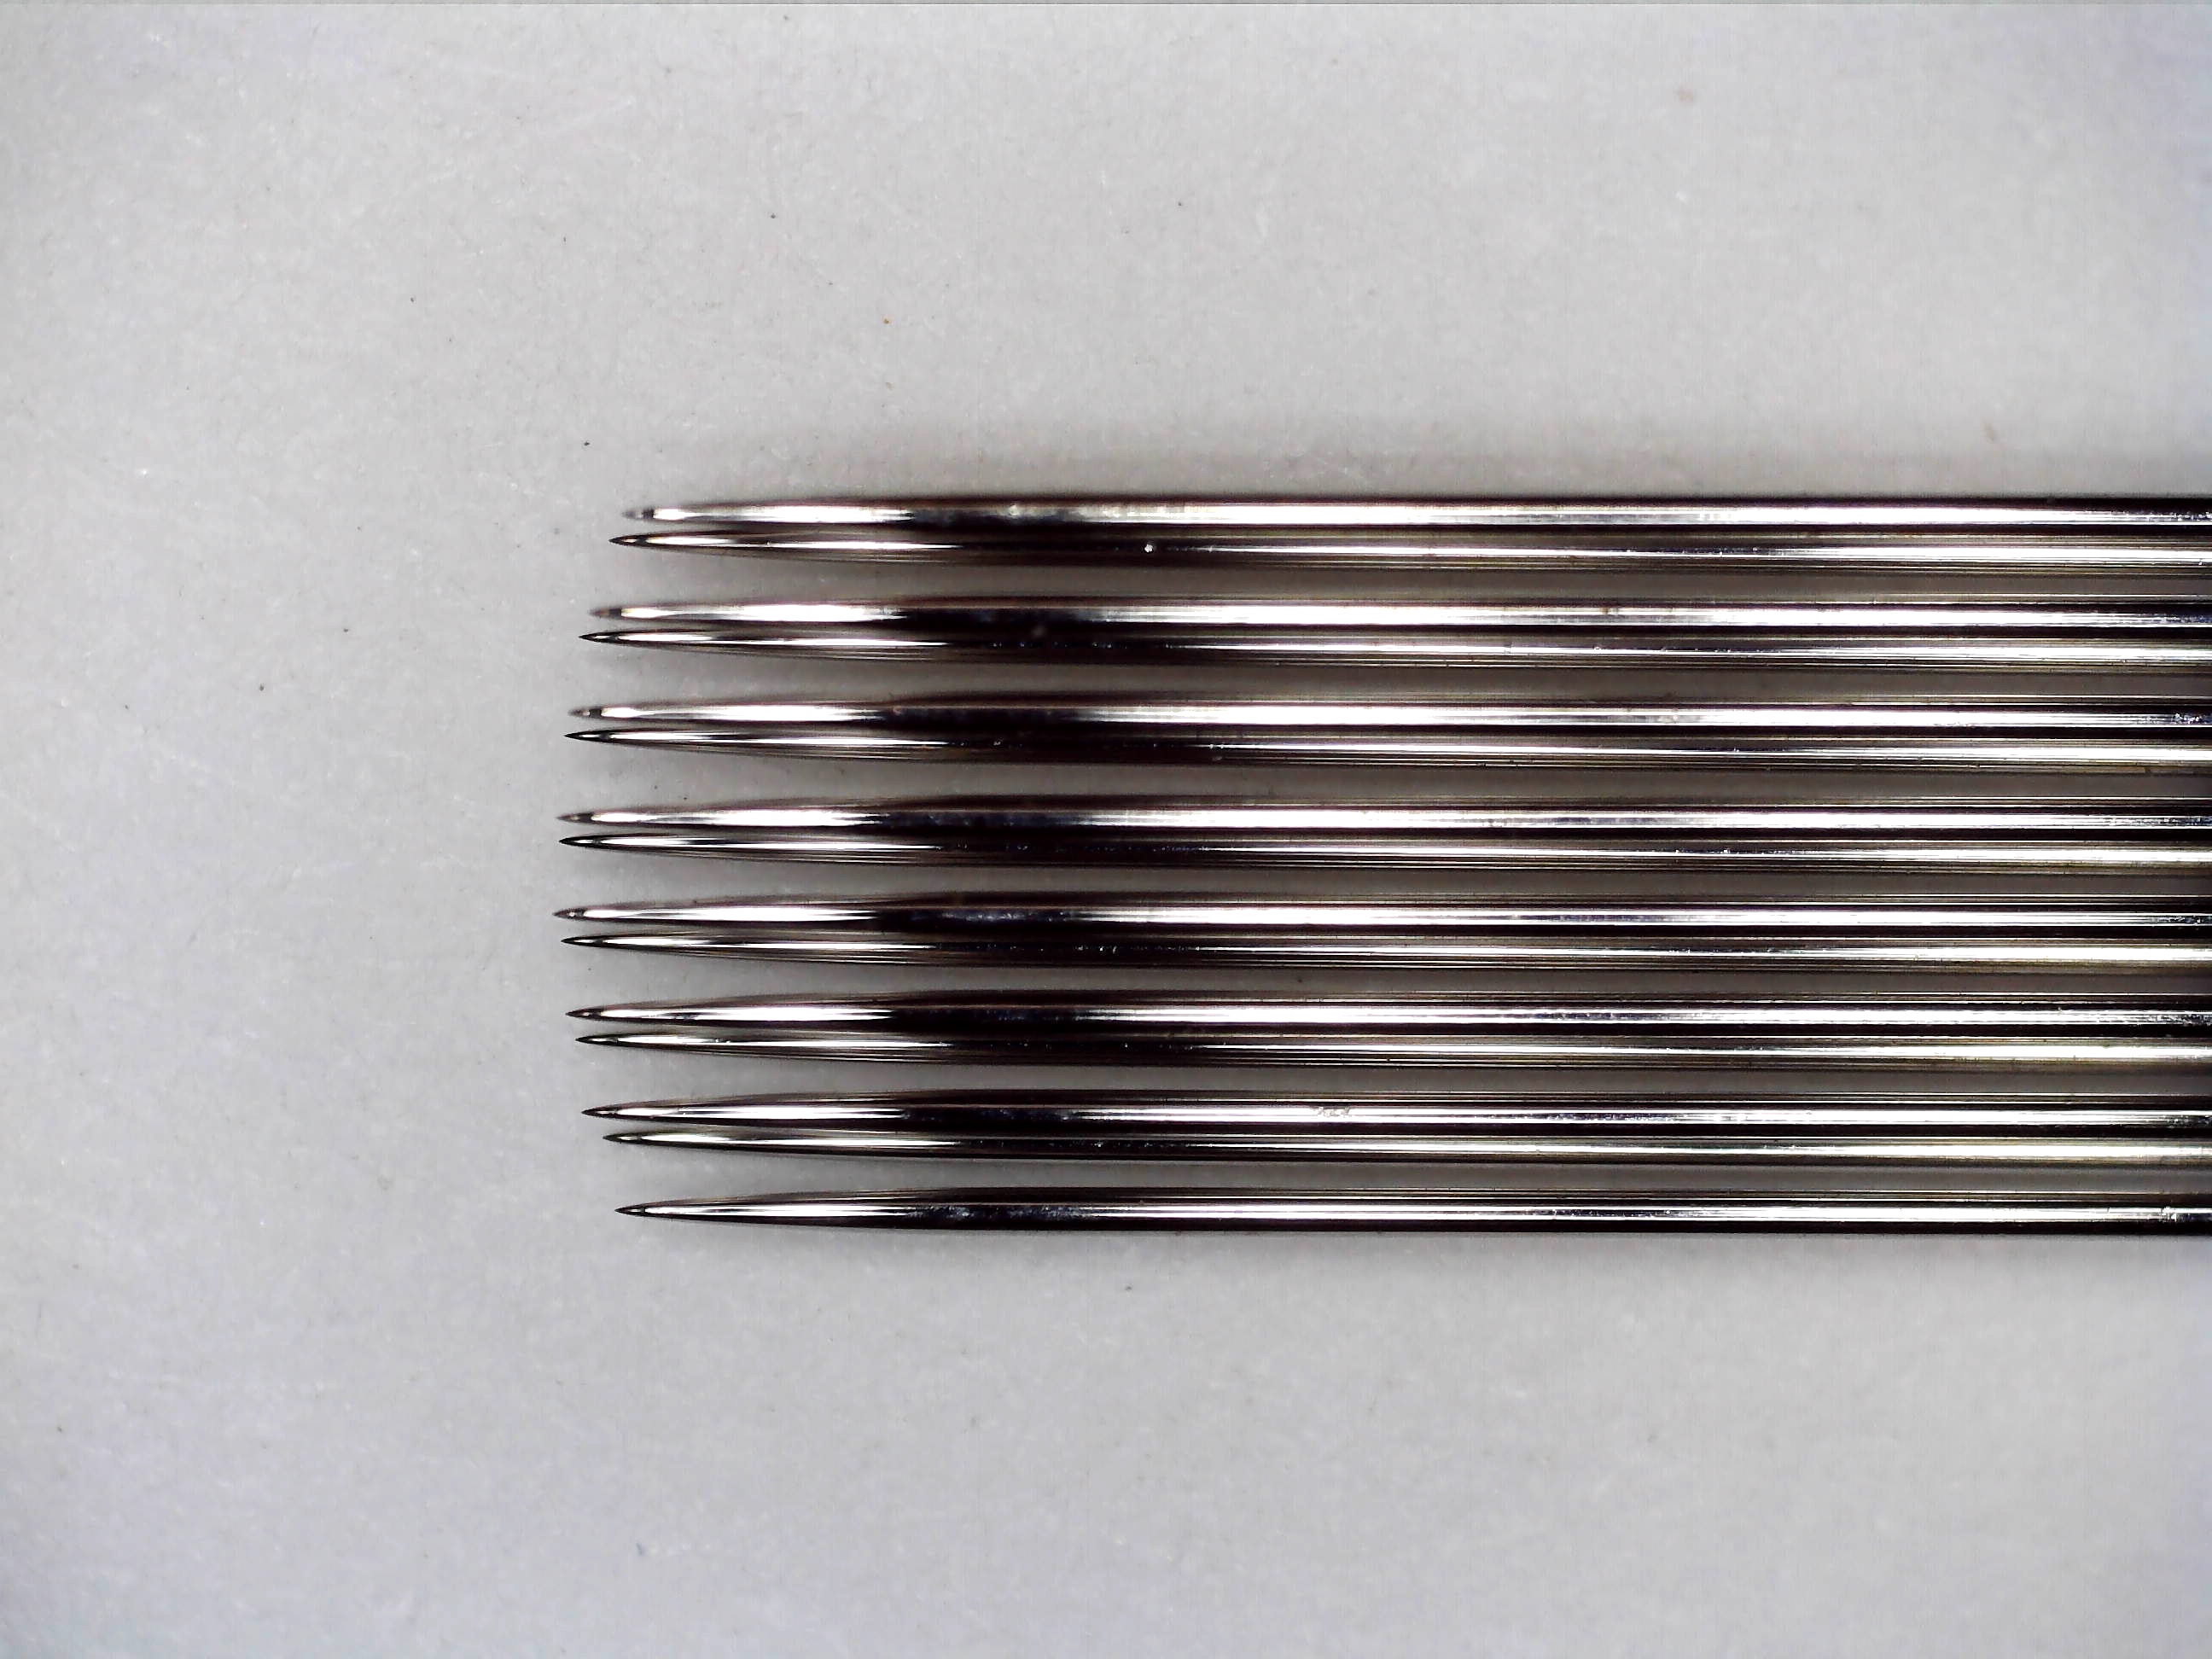 1015 Curved Magnum
In the video, Im about finished with this areola and the last step is to add what I call a "layover" color. It's typically a wash of a color or a pure color that helps blend my layers together.
In the video you will see 3 curved magnum movements/techniques
- Circles/Ovals - softly layering with a light touch working up to the edges
- Back/Forth - Use needles to softly layer pixels with a light touch that allows you to move back and forth on the skin
- On the Side - With a curved movement shade the nipple focusing more pressure for a darker base and lighter pressure as you lift off creating the gradient shade.
Other needles such as a 3RL/S work great for more added texture and precision.
To your PMU success,

PMU Artist & Needle Specialist
Inside Needle Knowledge
Smooth Shading Techniques: The Power of Curved Magnum Needles in Permanent Makeup
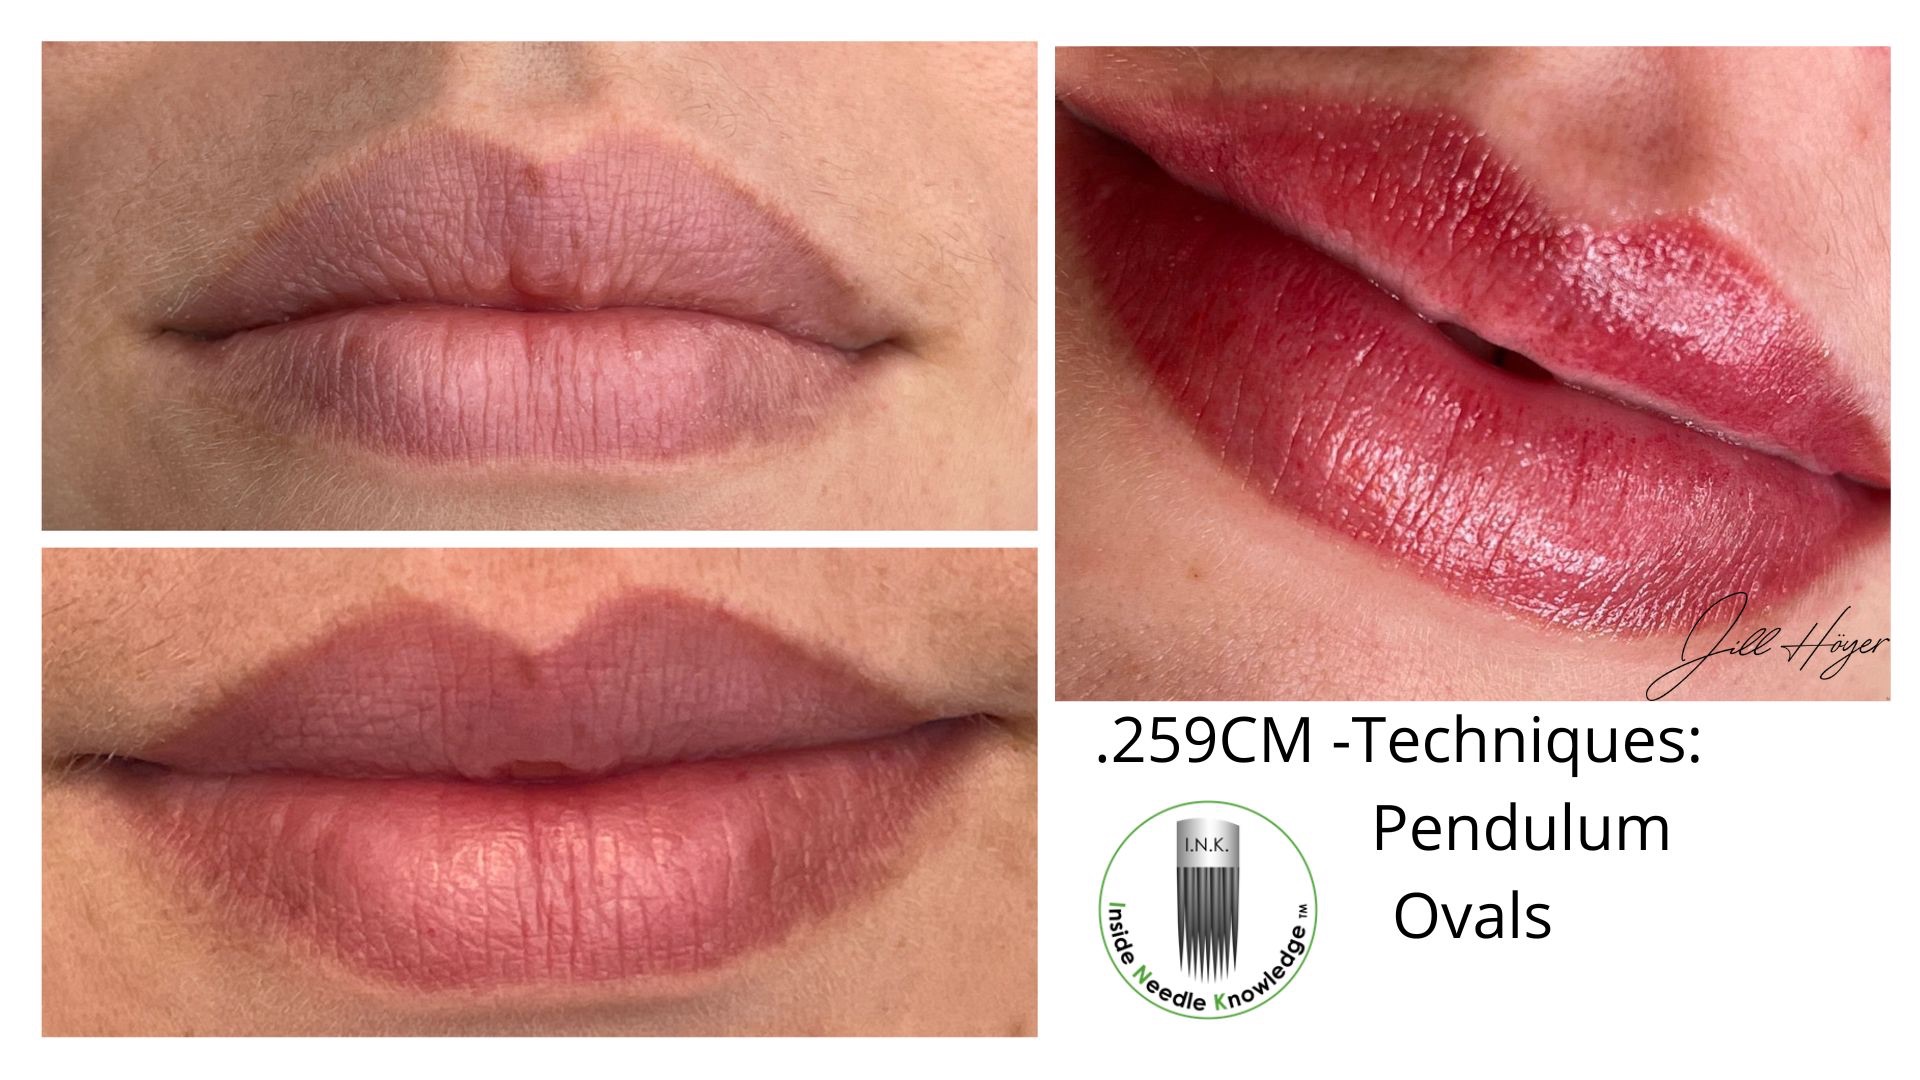
As professional permanent makeup artists, we constantly strive to refine our skills and explore techniques to deliver outstanding results to our clients. In this educational article, we will discuss the art of smooth shading using curved magnum needles, sharing valuable insights and tips to help PMU artists elevate their shading game.
Understanding Curved Magnum Needles: Curved magnum needles are indispensable tools in the realm of permanent makeup shading. These needles are uniquely designed with a curved configuration, featuring a fan-like arrangement of grouped needles. The curvature facilitates optimal pigment distribution, making them highly effective for creating seamless gradients. The results are an airbrush type of pattern
Benefits of Curved Magnum Needles:
-
Improved Efficiency: The curved shape of magnum needles enables artists to cover larger areas more efficiently. By maximizing the surface contact with the skin, shading procedures can be completed more quickly while
...
3 Round Liner vs 3 Round Liner Tattoo Needles

Hello PMU Artists,
Have you ever noticed the differences in how a 3 Round liner or shader needle are arranged? Maybe you're tattooing and seeing a different pattern when you switch from brow to brow or you notice a color difference. Maybe your eyeliner got too thick on the inner part...
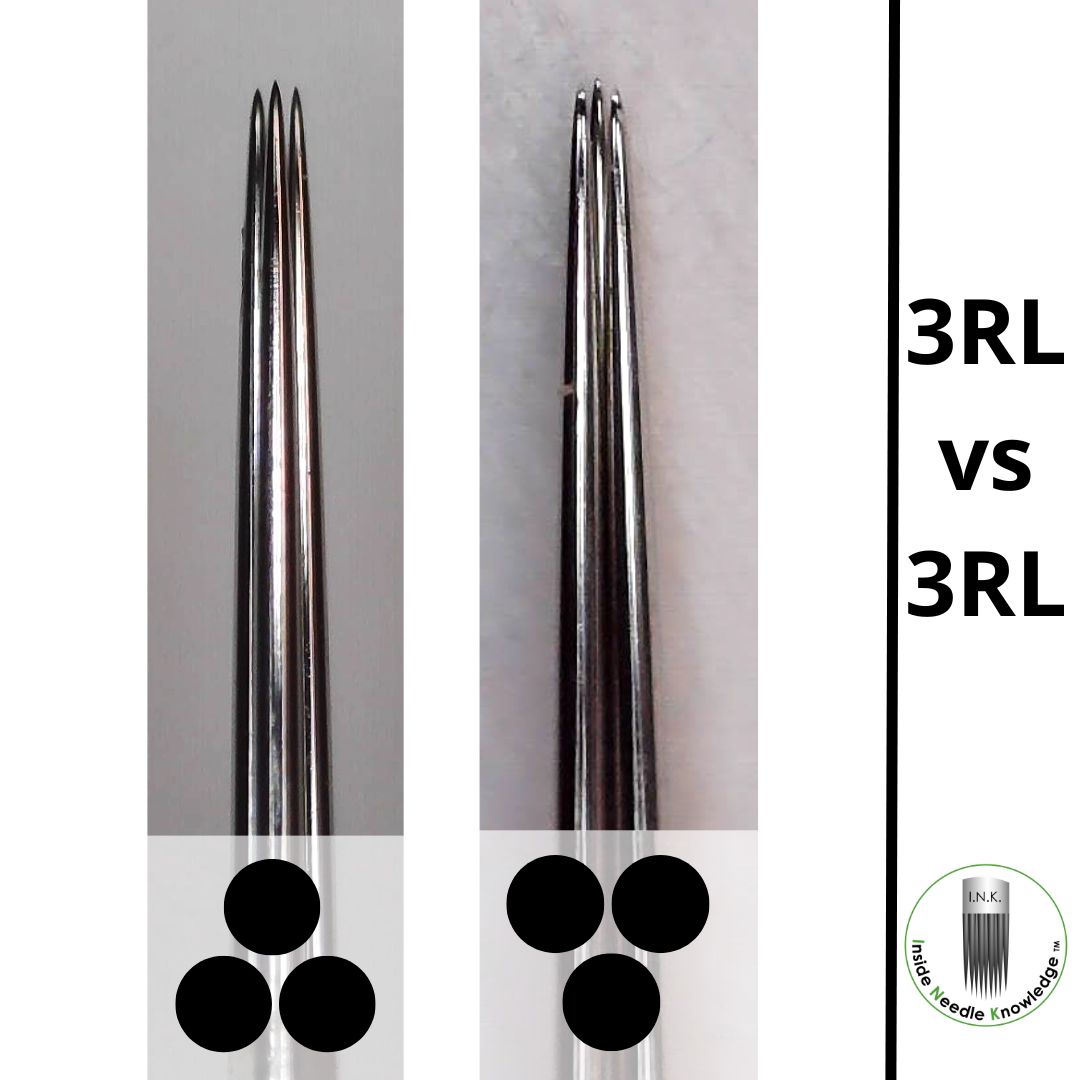
Of course this can be one of many "needle influencers" such as your speed, stretch angle depth, or pressure, but for a start, I would recommend to take a close look at your needle arrangement.
Are you leading your needle with 1 needle or 2?
Not only can the needle spacing be unique to each needle manufacturer but the needle arrangement is to consider as well.
If you're trying to create a very thin line on the inner portion of the eyeliner, or a crisp line for lips it is most helpful to recognize exactly how your needles are configured so you can be precise when tattooing.
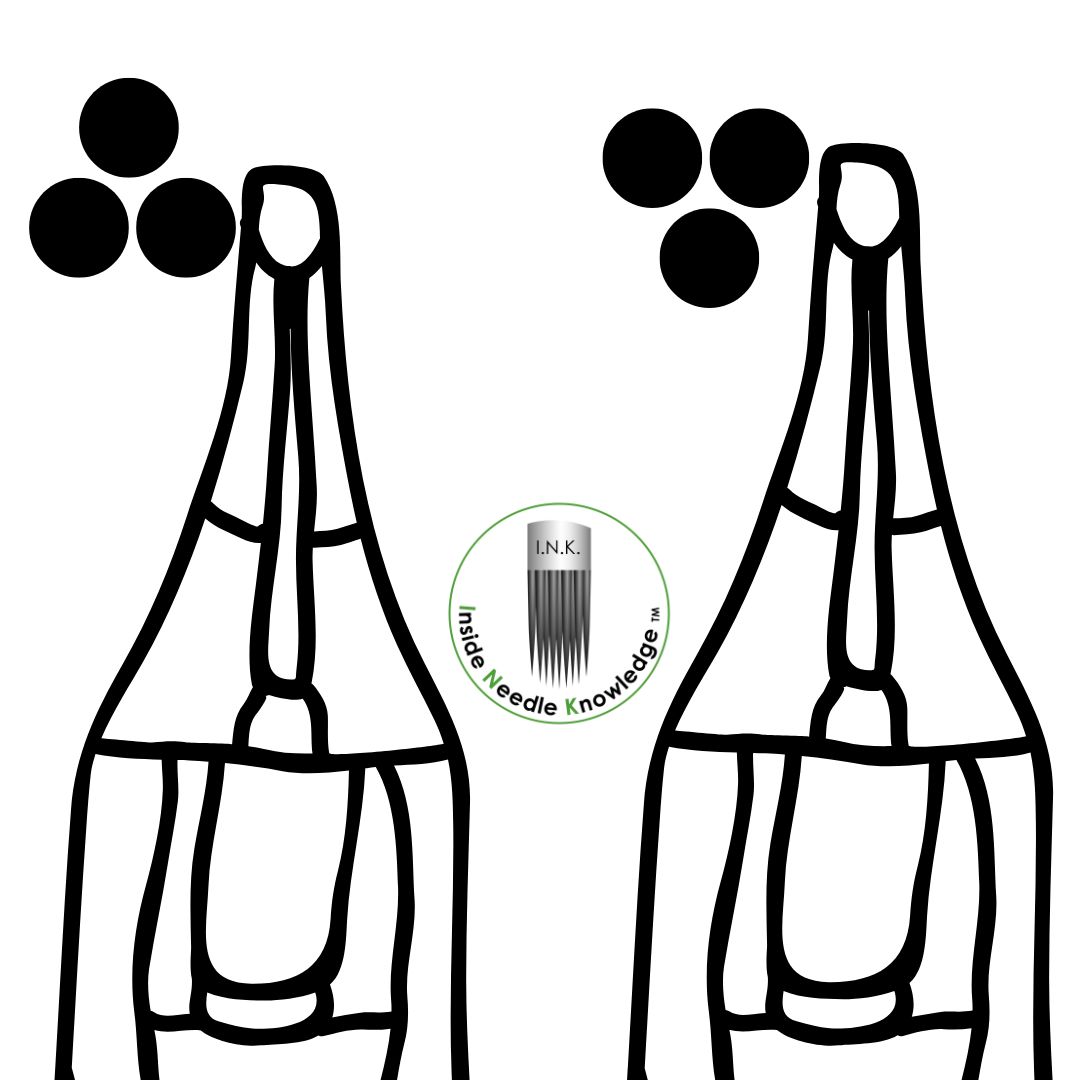 Once you pay attention to this you may find yourself rotating your machine for those tiny details where the line size matter...
Tattooing Challenging Skin Types
When attooing over any type of damaged skin, realistic expectations are a must. While permanent makeup can help enhance features and conceal imperfections, it may not completely eradicate the effects of damaged skin.
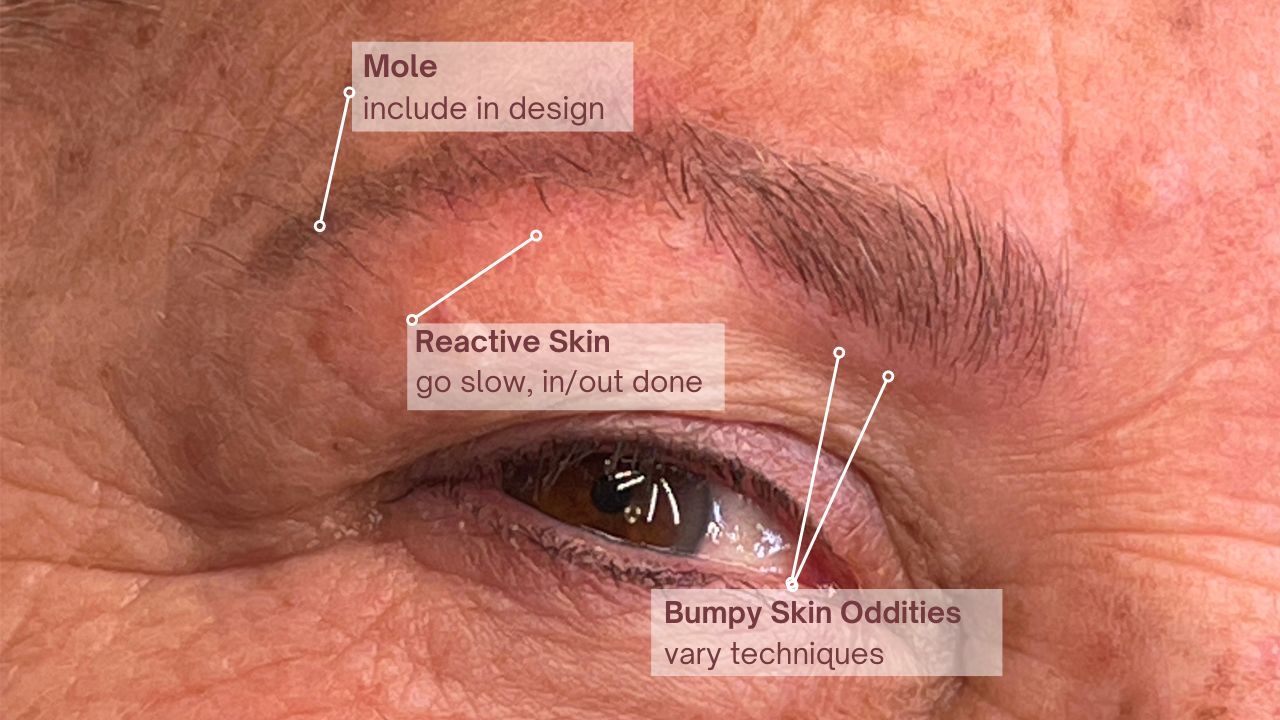
- MOLES can be incorporated into the design but usually tattooing over a mole isn’t advisable due to unforeseen circumstances such as a mole developing into a cancerous one.
- REACTIVE SKIN aka skin that reddens immediately can be a challenge when reading your ink. I find working slowly and getting in the color with least the amount of passes (that make the skin redder) is a good approach. The approach is In/Out/Done. I may use a larger needle to implant more color quickly, slow my hand speed, or alter techniques to soft pointillism, (with a smaller needle) which doesn’t redden the skin as much as whip or pendulum shading can.
- BUMPY SKIN ODDITIES may or may not take color. I point these areas out to my clients because many aren’t aware they even have oddities in the ...

